Open Manage › Configuration › Contacts - Custom Features and click Go to Custom Fields. Click New Field, enter the Field Caption, choose the Field Type and Order No and click Save. The field appears on every contact's form. Custom Contact IDs gives you up to six extra ID numbers per contact.
Before you start
- The public form switched on (Enable Public Form on Go to Public Form). Until it is, the field types list is empty and a new field cannot be saved.
1. Open Custom Fields
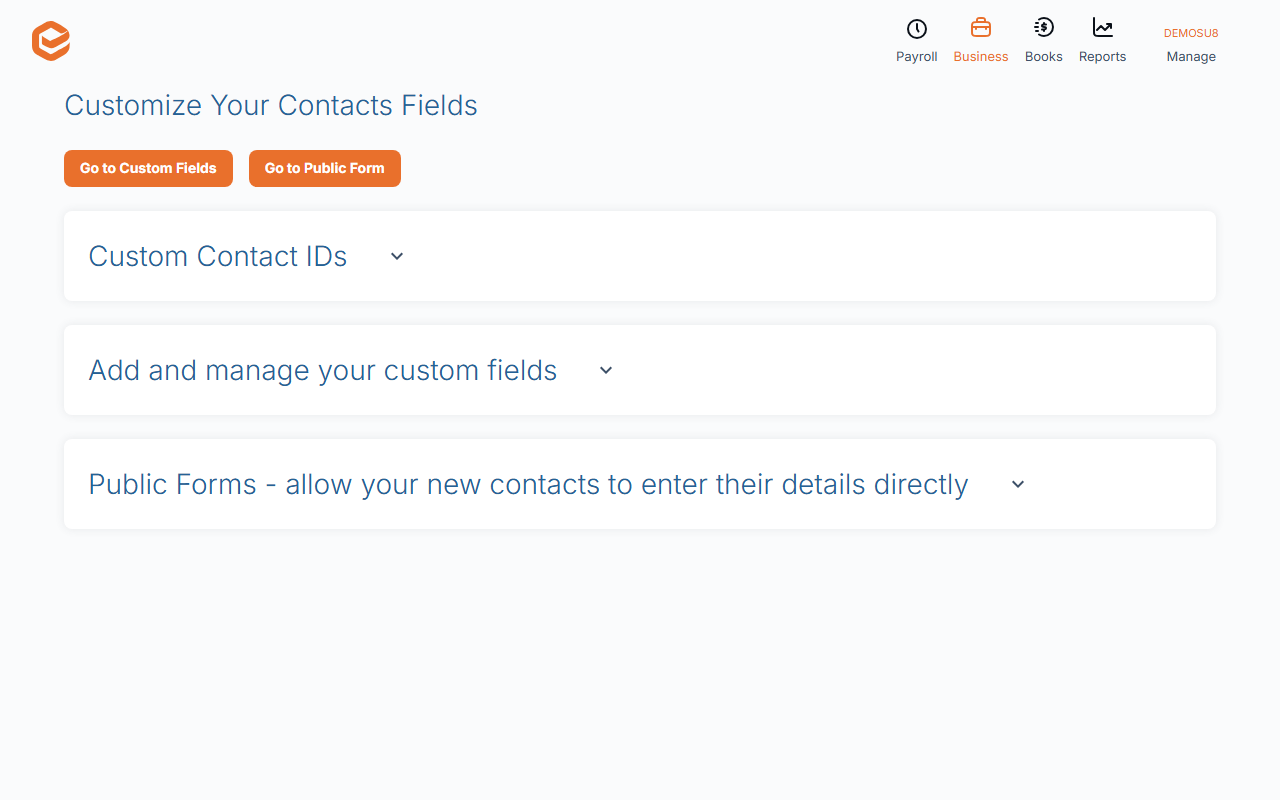
Open Manage › Configuration › Contacts - Custom Features (Customize Your Contacts Fields) and click Go to Custom Fields.
2. Add a field
Click New Field and fill in Add Custom Field:
- Field Caption (required) - the label on the contact form.
- Field Type (required) - Text, Number, Date, Selection, Check Box, Radio Group, Multiple Check Boxes, Upload File, Score or Hyperlink.
- Selection group - the choices, for Selection, Radio Group and Multiple Check Boxes.
- Order No (required) - where it sits among your fields.
- Active - leave ticked. An inactive field is hidden and cannot be brought back from this screen yet.
- Notes - for you; not shown on the contact.
3. Save
Click Save. The field shows on New Contact and Edit Contact for every contact, and on the dashboard.
Custom Contact IDs
Under Custom Contact IDs you can name up to six extra ID numbers (a client number from another system, a member number), mark one as Unique, and check it as an ABN, BSB or TFN. Click Update to save each one, or Deactivate to stop using it.
Not available yet
Custom fields cannot be deleted yet, and their On public form setting is not saved: choose which fields the public form shows on its own Fields tab instead.
Related guides
Checked against Exacc on 4 October 2026. Machine-readable version